
Thursday
Mar032011
Kitchen Basics, Lesson 2, Homemade Ricotta!

Take a deep breath.
Yes - that's right, I said homemade.
Now before you get all nervous, hear me out. This recipe is
s-i-m-p-l-e, not to mention delicious. I can promise that you'll never crave the tub stuff again.
Personally, I love myself some good ricotta. When it comes to sweet and savory versatility, there's just no competition.
If you've ever added a bit to pancake batter, or eaten a smear on crusty bread with honey and sea salt; you probably understand my obsession.
I'm making myself hungry, let's make some cheese already.
Homemade Ricotta
Adapted from 101 Cookbooks
Yields about 2.5 - 3 cups
Ingredients
1 quart buttermilk
1 gallon whole milk
(Yes, only two - told you this was easy!)
Special Equipment
Sieve or Colander
Cheesecloth
Thermometer (optional)
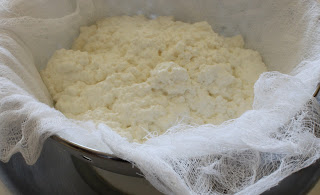
Line a sieve or colander with 5-6 layers of cheesecloth. Leave about 2 inches of cloth overlapping on the sides. Place a bowl underneath. Reserve.
Pour entire contents of milk and buttermilk in a large saucepan over medium-high heat. If using, attach a kitchen thermometer to the inside wall of the pan.
Stir the milk gently as it is warming up, making sure to scrape the bottom and sides. Once this gets to a certain temperature, you will notice the milk separating into curds, and whey. The curds will rise to the top and resemble cottage cheese - the whey will be all the liquid left behind.
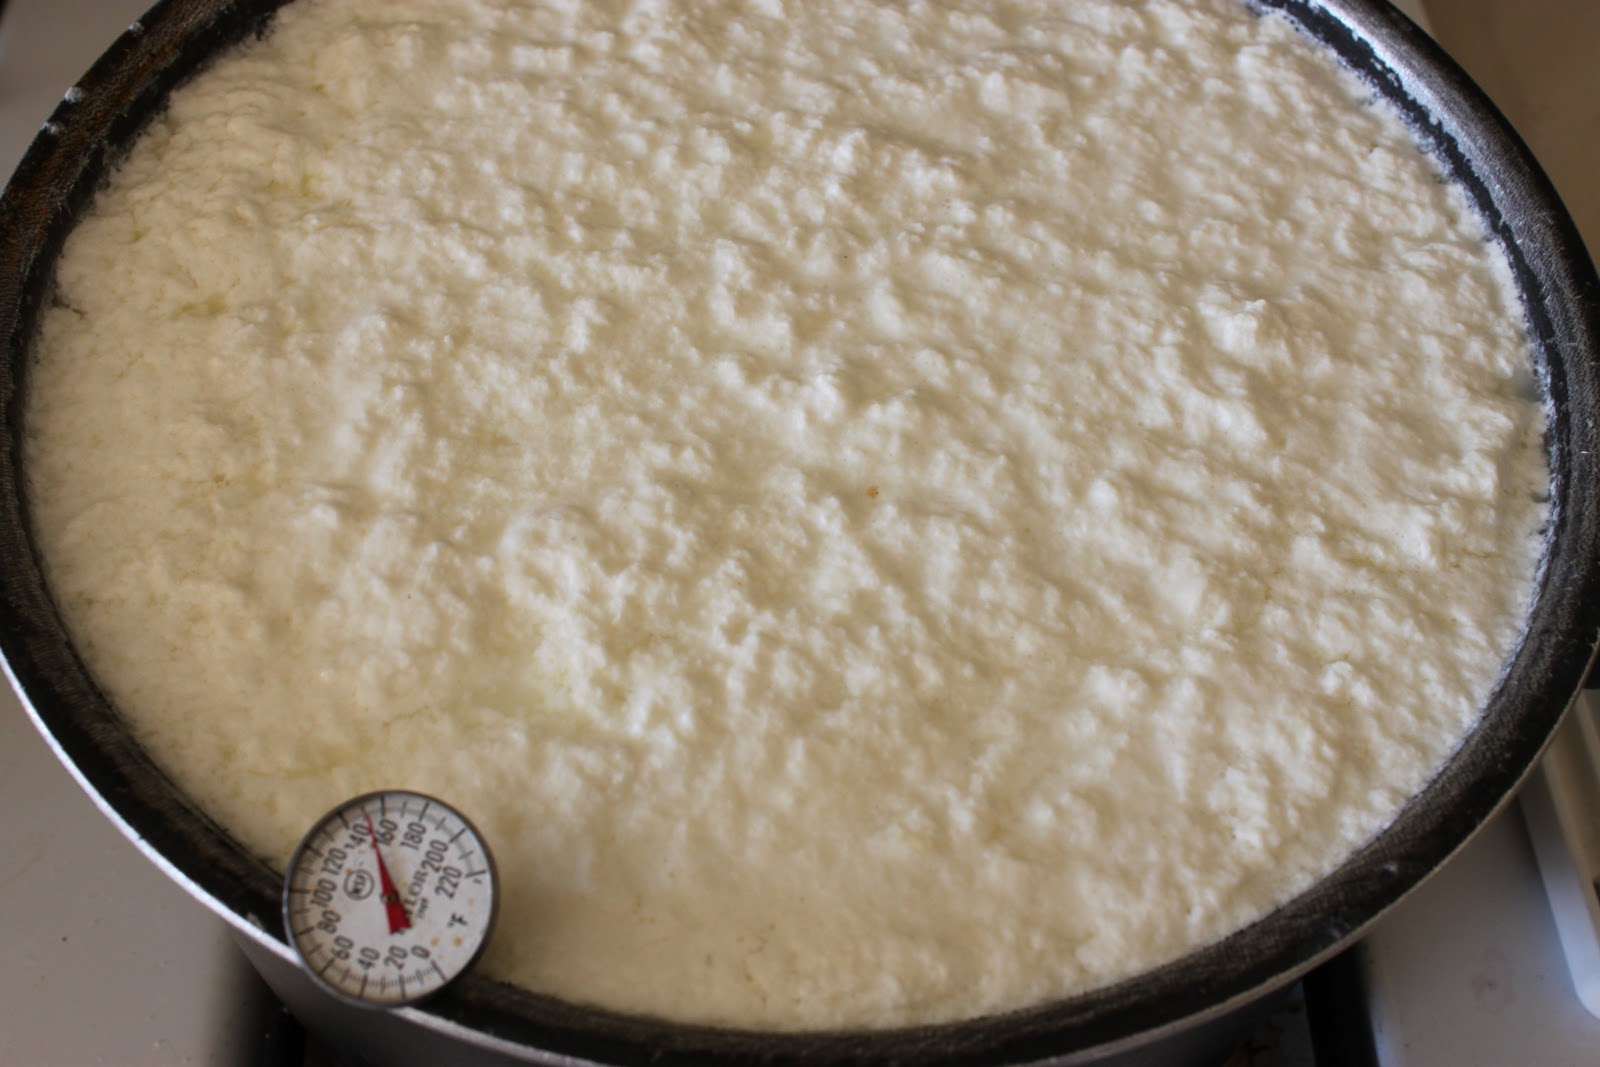
When your thermometer reads 175 degrees, or when the curds have formed a thick even layer on top of the pan, turn off the heat. With a ladle, spoon the curds into your prepared sieve - allowing for the whey to drain.
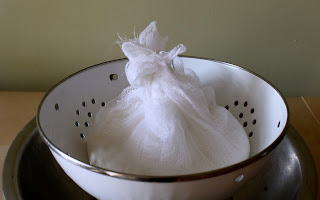
 Continue until all the curds are out of the pan. Then tie the cheesecloth into a bow and leave to drain at room temperature for about 20 minutes.

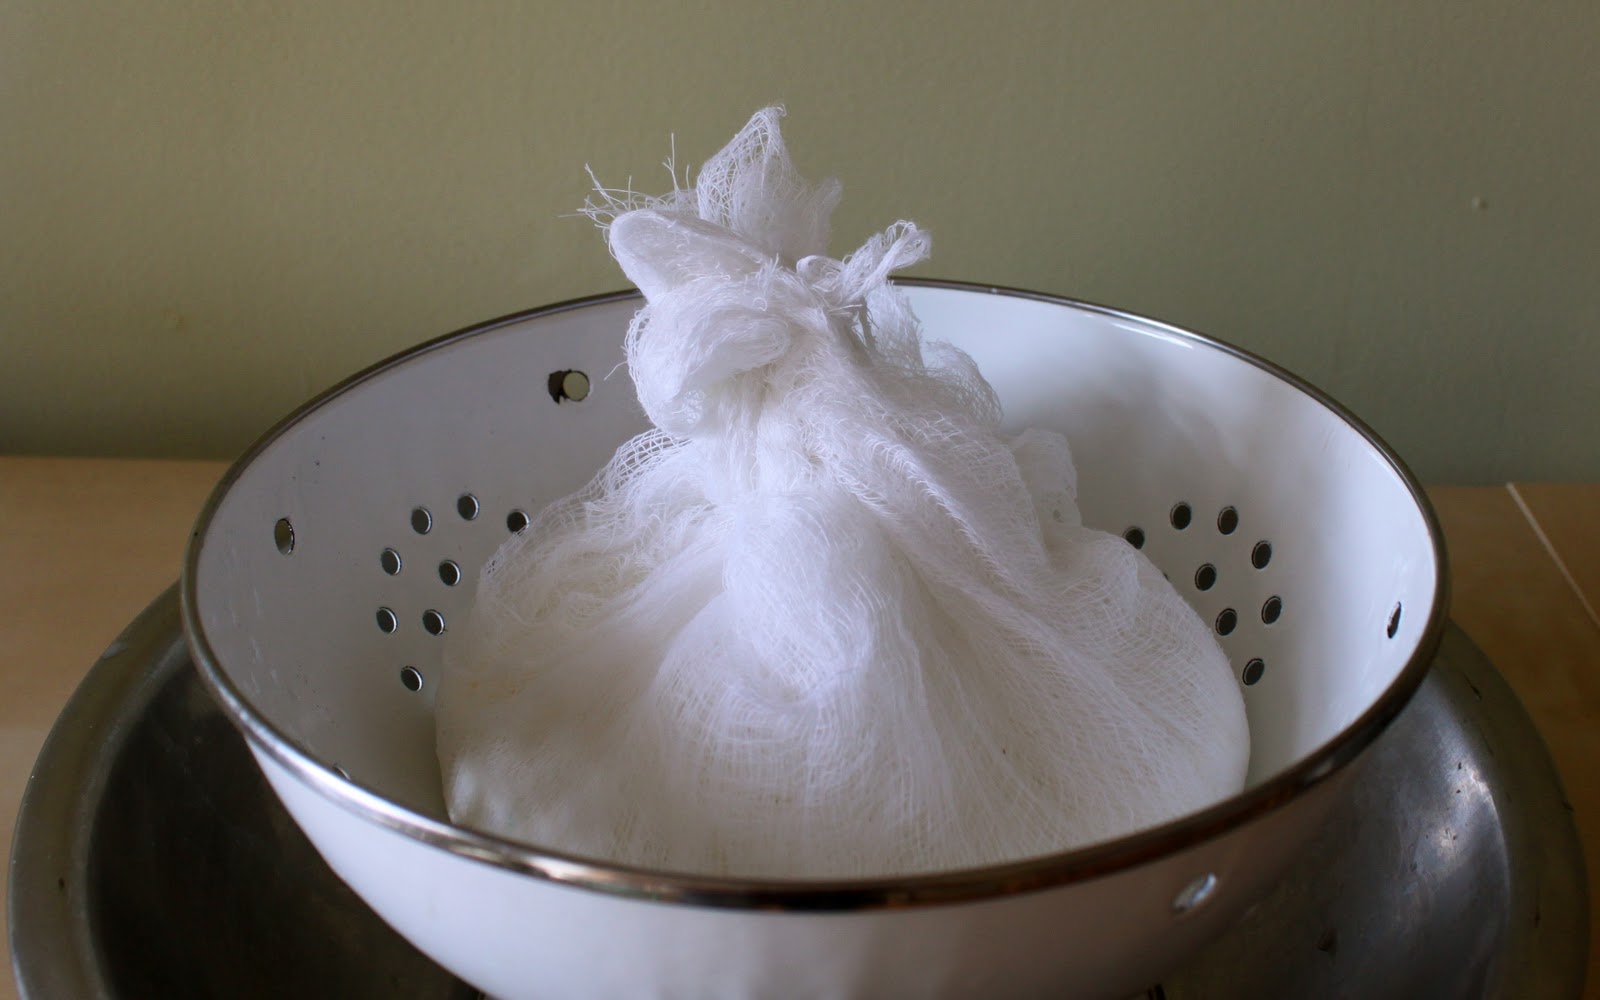
After 20 minutes (or desired texture has been reached), open the cheesecloth and season your ricotta to taste. You may also add herbs here if you'd like.
Your delicious ricotta is now ready to enjoy! Remember to keep refrigerated; best if used within 5 days.
* This recipe will yield a lot of leftover whey. You can toss it, but I prefer to keep it. This by-product is widely known to be a powerful nutritional supplement containing vitamins, minerals and protein. Add to soups for a tangy flavor, into baked goods for added moisture or as cooking water for rice and other grains. Sprinkle some over your pets food to give them a nutritional boost too!
tagged  cooks
cooks


Reader Comments (2)
I LOVE ricotta, so I absolutely cannot wait to make this. You read my mind with suggestions of what to do with the whey. I hate to throw away something so nutritious, but it's not really something I'd want to drink on it's own. I'm thinking it might be a good addition to smoothies too. Thanks M.E.
i want to make this right now! it looks so simple and yummy!