
D.I.Y. Garland + Little Giveaway

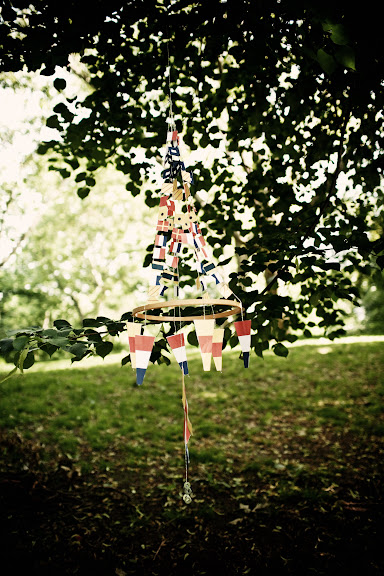
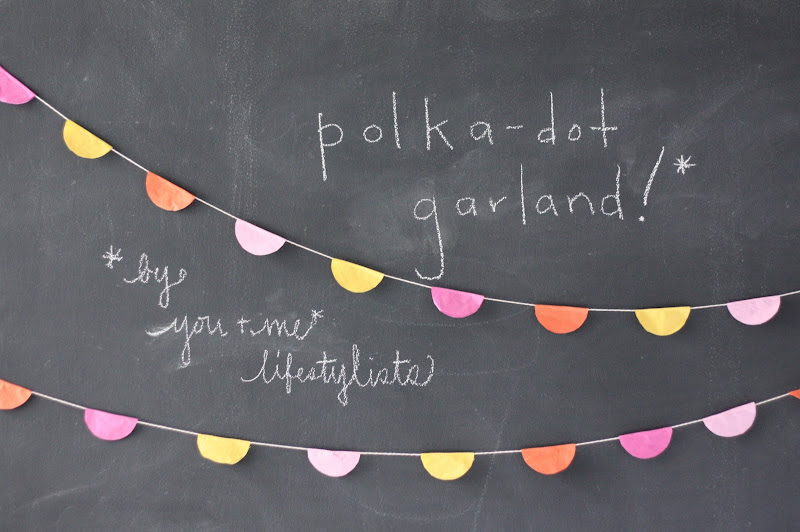 When we wanted to add some visual interest to a family portrait, we thought immediately of something hanging in the background. But what? Buntings are a little..ahem, overdone. Not that we don't still love them. But. Mobiles require trees or ceilings from which to hang, which this family's location didn't have. We came up with this garland that still has the fun festive feel of a bunting, but is a little different. They're going to make their own in various sizes in their color scheme, and hang them along vintage oars stuck in the sand behind them. Even if you're short on oars, make one today and hang it from your light fixture above your dining room table to make your weeknight dinner feel like a party, in your backyard (or on your fire escape) for a little added color (but take them down if it looks like rain!), or in your baby's room as a summery mobile. You, like the folks aforementioned, can even make them in varying sizes and hang them in multiples to add interest!
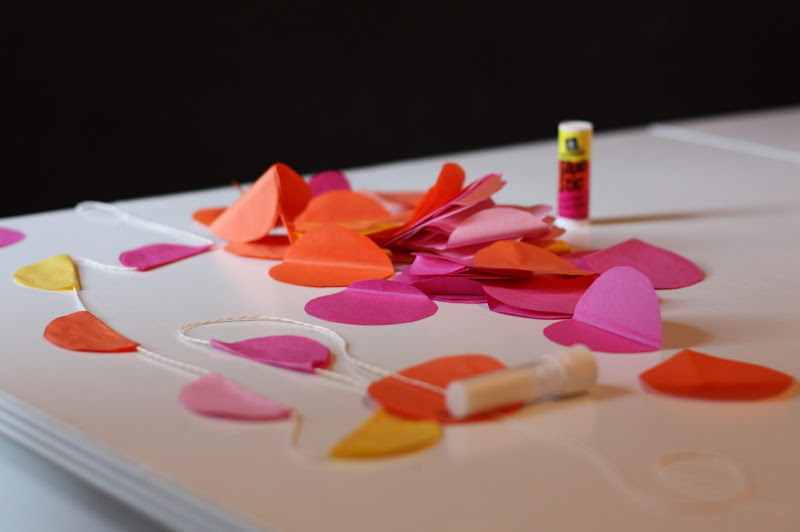
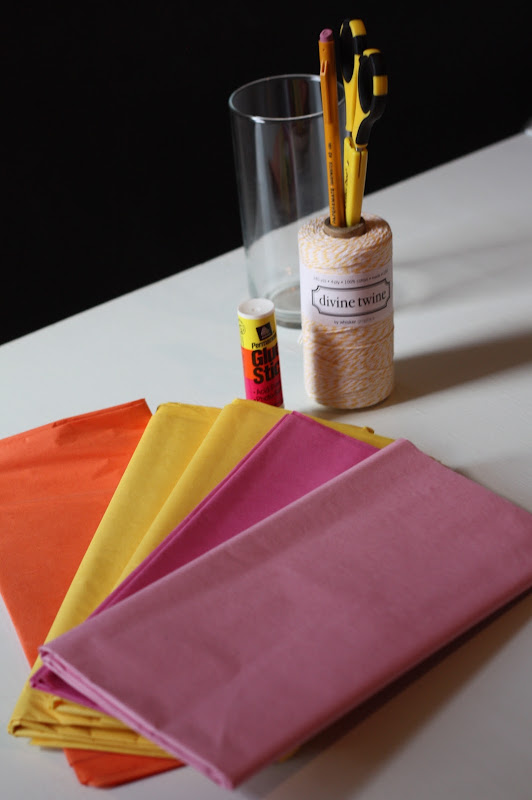 Materials:
string of some sort
tissue paper in various colors
something round to trace, like a glass or a mixing bowl
a pencil
a glue stick
scissors
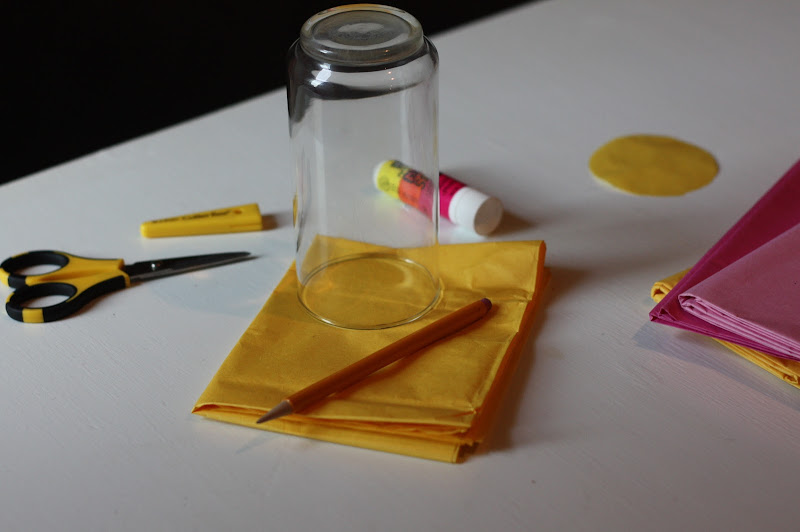 Make it!
Step 1: Trace your round object, and cut out circles in various colors. We like to keep the paper folded over on itself, and cut out multiple circles at once.
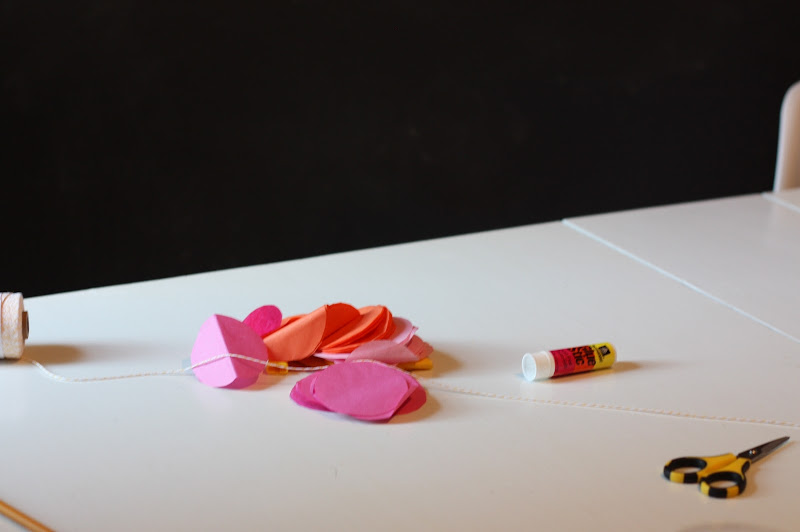 Step 2: Fold your circles in half around your string, and glue in place. Use a ruler if that helps you keep even spacing between your circles. Hang and enjoy!
 Can't/Don't want to D.I.Y.? Win it! Just leave a comment here by 12:00PM (noon) EST on Friday, August 6 telling us where you would hang this, and we'll pick one of you to win 10 yards of this garland in the colors shown.
 Miya & Elisabeth

